Wood Burning Masonry Heaters
Mevagissey, Cornwall
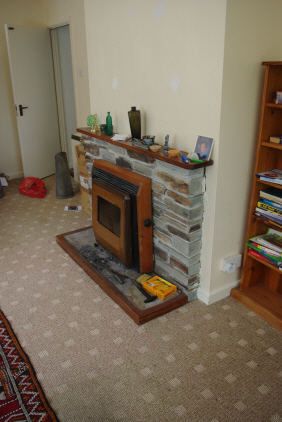
| The house was originally fitted with an old fireplace with an integrated back-boiler which looked terrible and was soon removed after early discussions with David & Christine. |
|
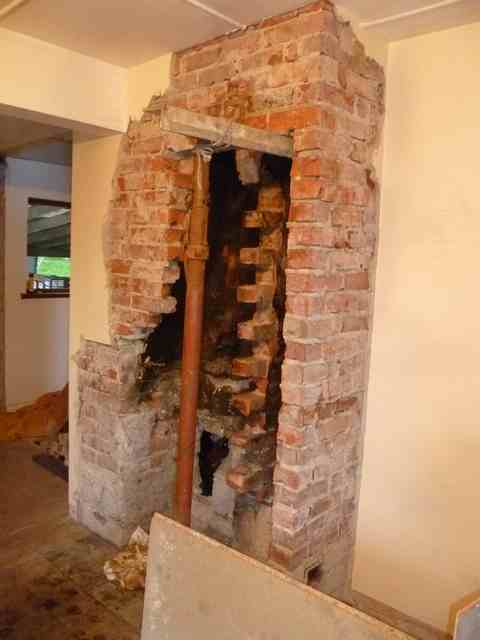
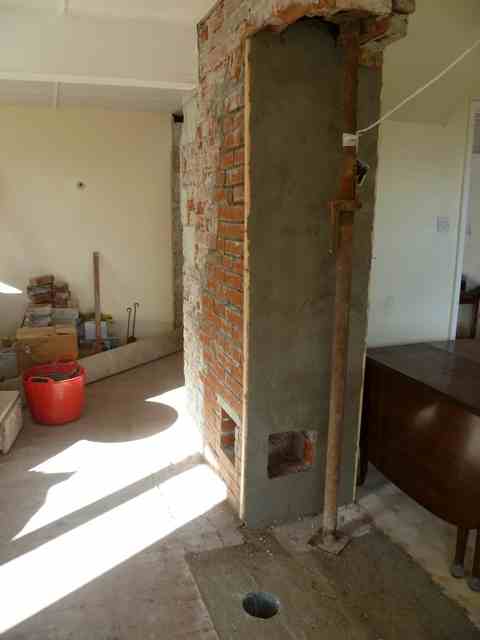
| After the old fireplace and back-boiler had been removed and the flues exposed it was decided to place the new heater partially buried into one side of the chimney breast to reduce the space taken up. The second redundant flue and part of the chimney breast were demolished by a local building contractor to reduce costs to client. |
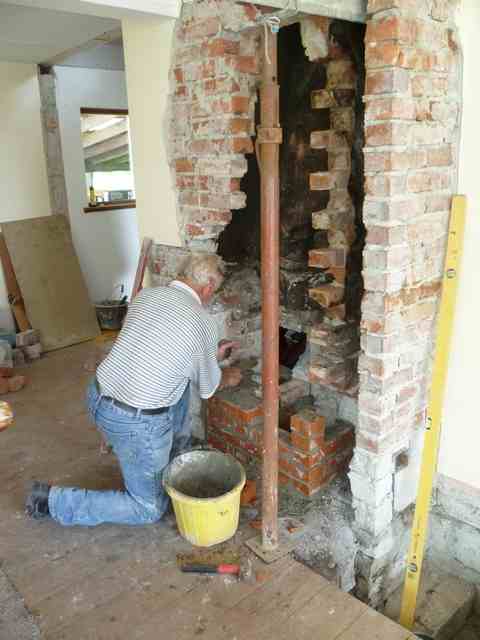
| The chimney breast was temporarily supported by an acroprop although with corbelling the courses it was self supporting and the prop was for additional safety. |
|
| The existing flue was then rebuilt from the floor up to just below the ceiling with a clean out opening and a side opening to suit the heater connection. Then the remainder of the righthand side of the breast was completely removed right through to the kitchen along with the kitchen wall and door. |
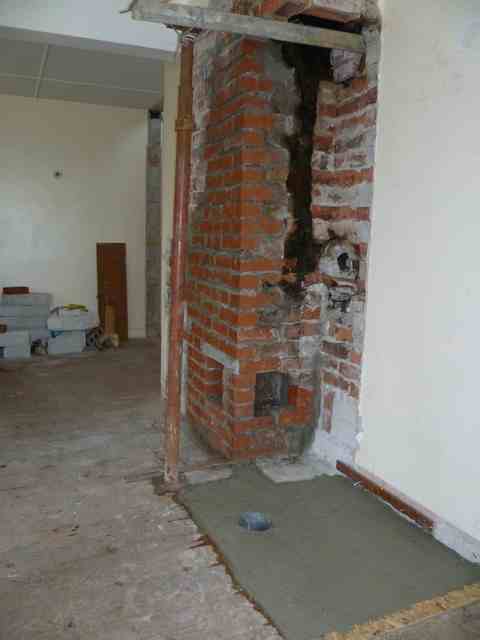
| After the demolition and making good, the face of the brickwork was rendered smooth ready to receive the heater core construction.The support foundation was also cast to incorporate the 150mm Galvanised supply duct taken through the floor void to a vented store room. |
|
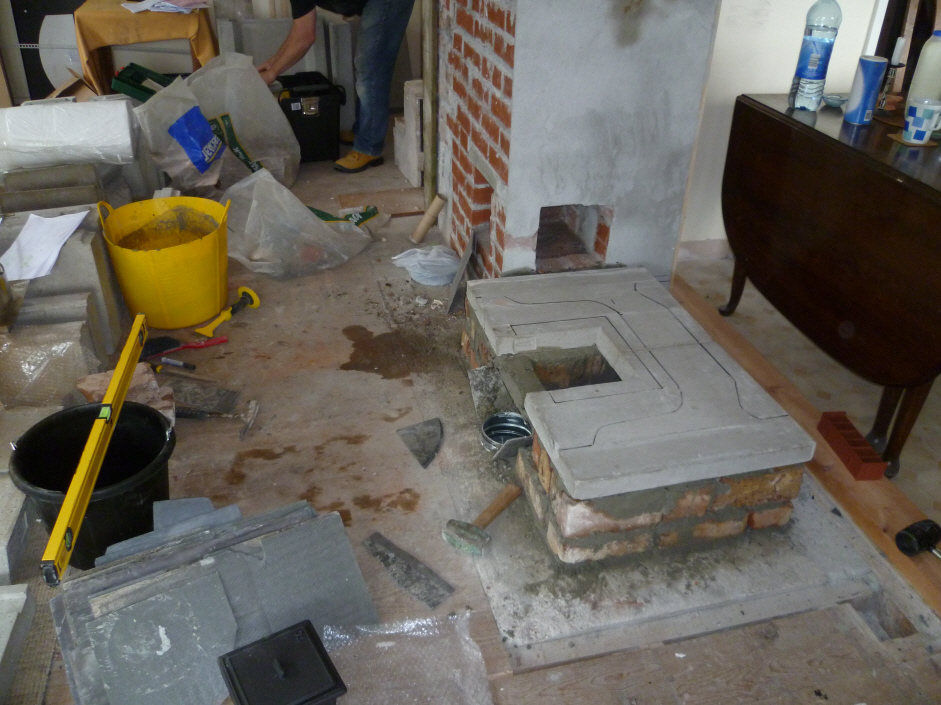
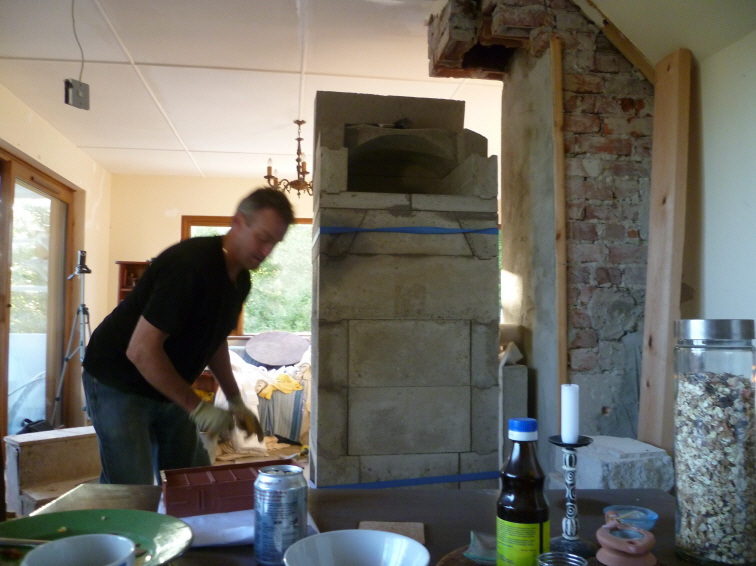
| The first stage of the installation by "The Stone Sun" after unloading all the parts was to set out the final positioning of the heater on the slab and in this instance we constructed a brick plinth to raise the level of the firebox and incorporating an ash drop on the kitchen side. The first two parts of the heater core were bedded in position ready to build up the core. |
| The next stage was to install the flue damper between the core and the heater contra-flow chamber. This was bedded into the flue opening and a cut-out in the heater module to ensure no leakage. |
|
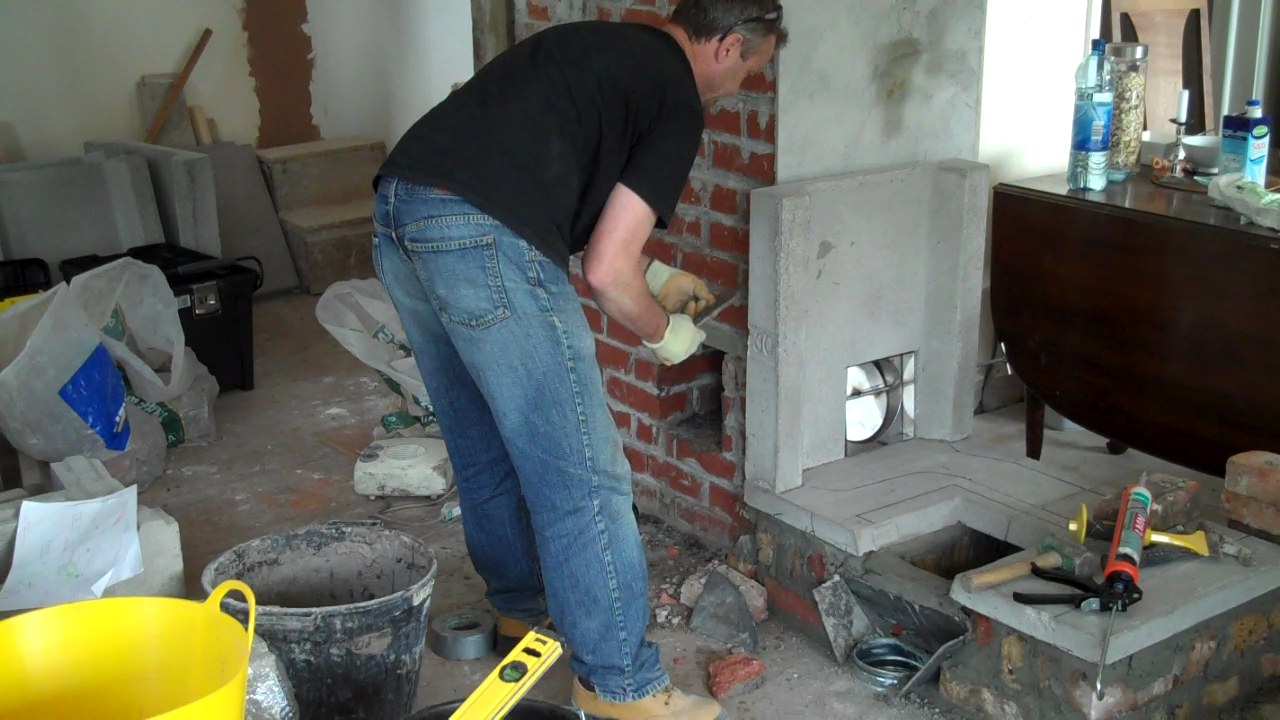
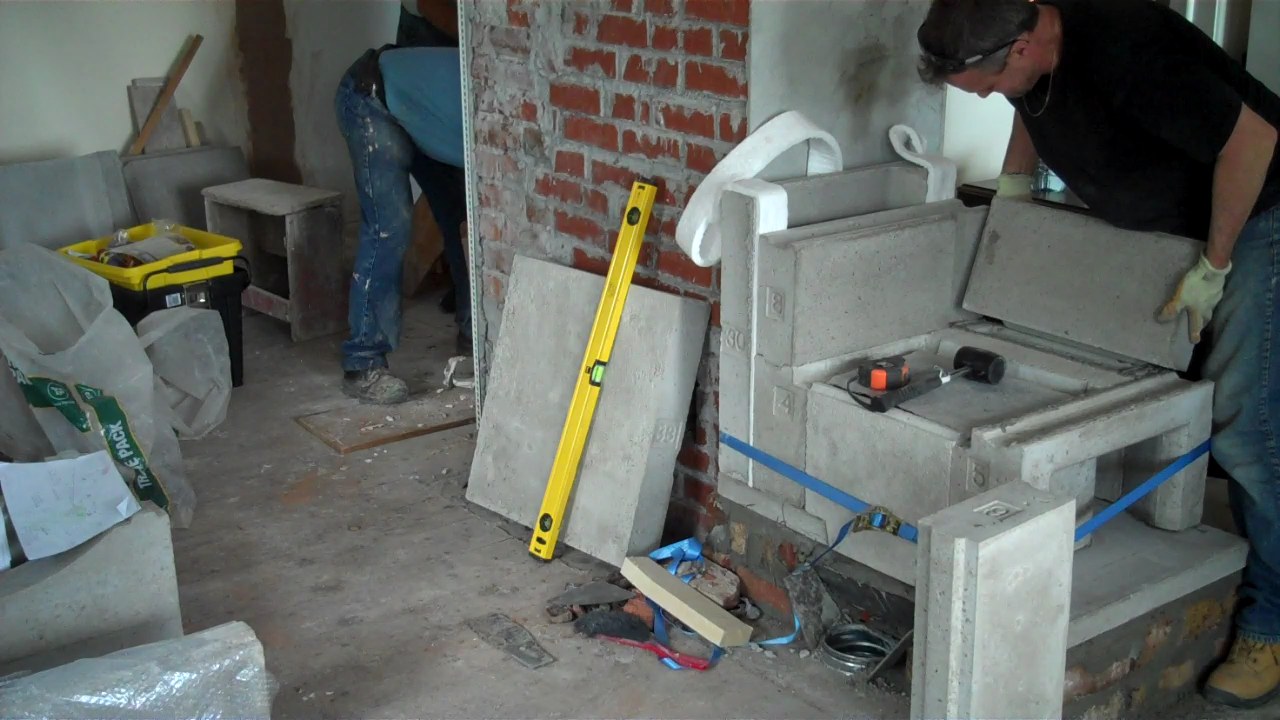
| The heater core modules are then installed using a refractory paste to bed and seal all the joints. You can also see the strips of ceramic wool which are used to give a flexible sealed expansion joint between the core and the contra-flow chambers. |
| The modules are carefully installed to ensure alignment and level and as can be seen are kept into position tightly against ceramic wool using ties. Most modules can be installed by one person but others require assistance as quite heavy. |
|
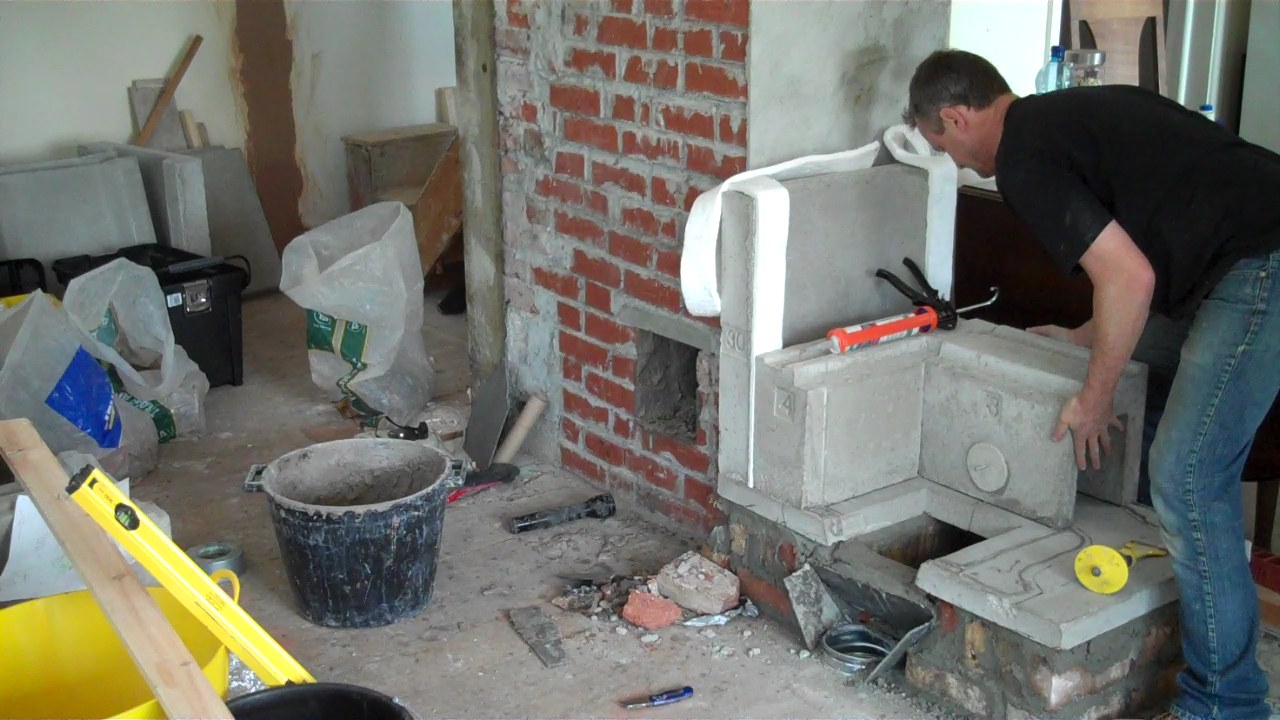
| The heater core has nearly been completed to the top of the main firebox chamber showing the tapering head which leads into the secondary chamber. |
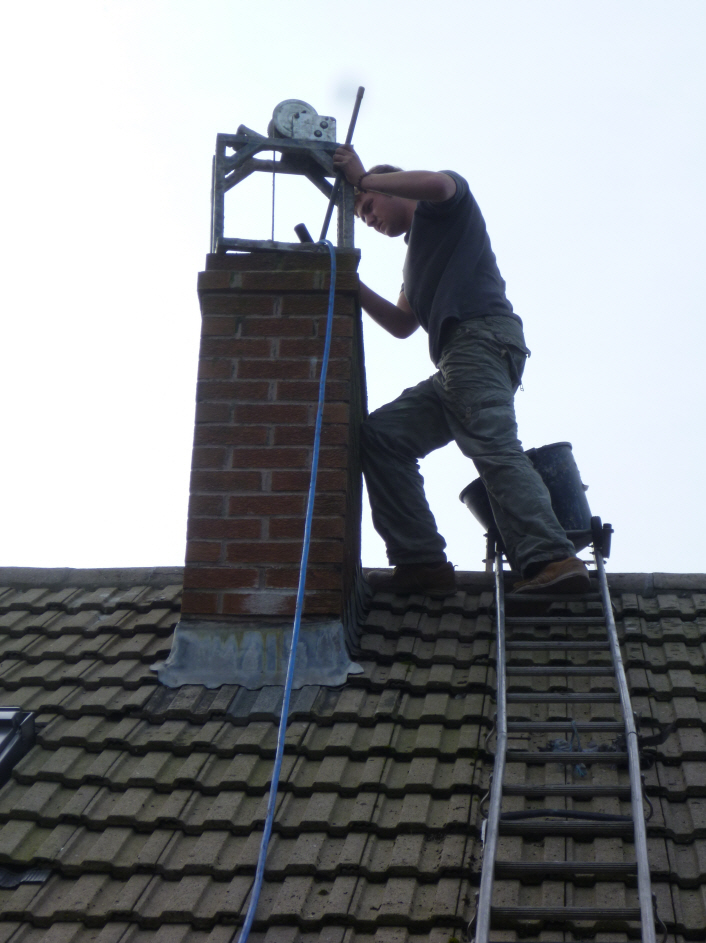
| As part of this installation the existing partially rebuilt chimney flue required relining. As the usual use of a stainless steel liner would have been to small for the operation of the Masonry heater we carried out the relining using the Eldfast Ceramic lining system which maintains the maximum flue size possible. |
|
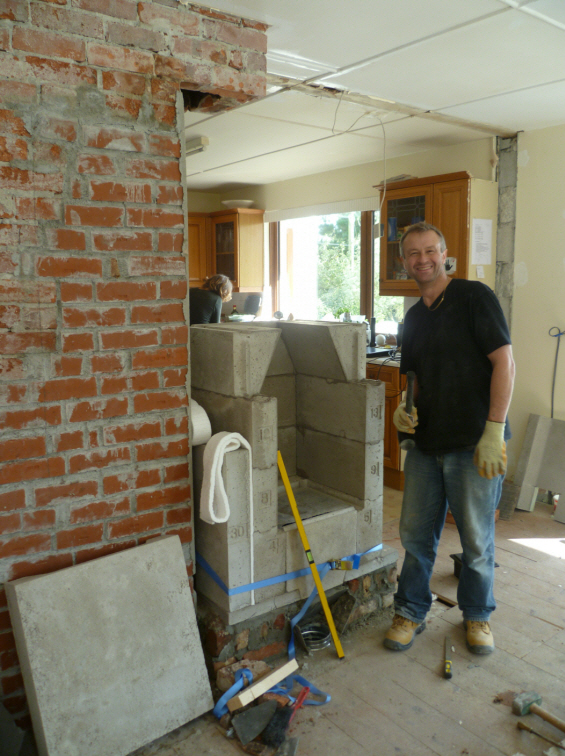
| The heater core modules are bonded with a specialist refractory paste and held together as built with adjustable tie straps. The top part in this picture is the arched head of the Bake Oven (second combustion chamber) which is on the opposite side in the kitchen. |
| The heater core pictured from the kitchen showing the arched bake oven. |
|
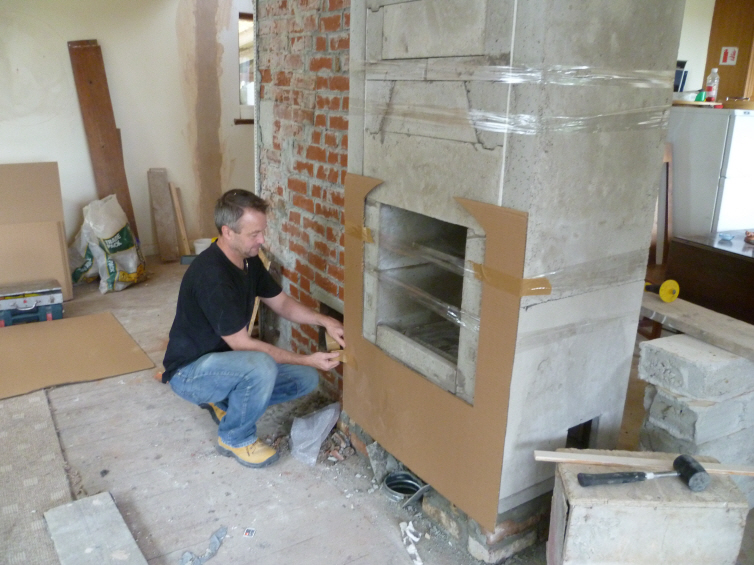
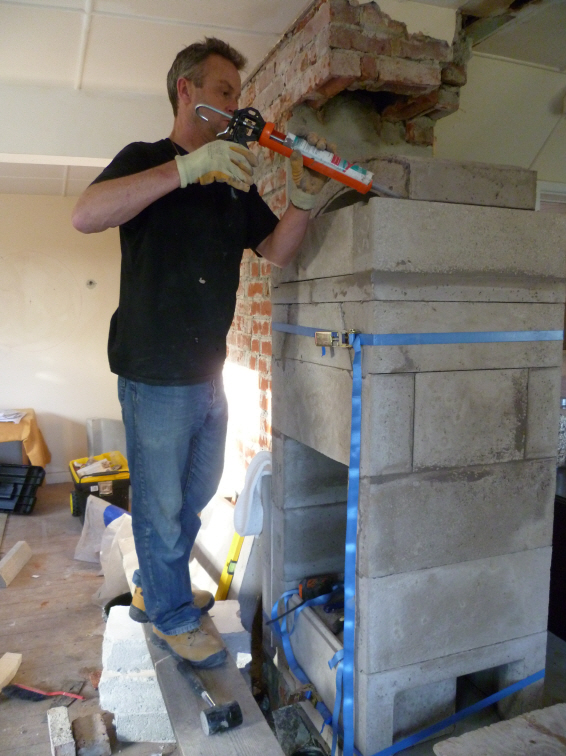
| On completion of the heater core erection the external surface is covered in a corregated card taped in place to form an expansion joint between the Core and the applied masonry facade. This card disintegrates during the initial curing process to leave the relevant expansion joint. |
| The firebox door frame is fitted against a layer of ceramic wool to allow a sealed expansion joint. The door and frame are actually bedded into the facade masonry and not physically attached to the heater core to allow for expansion and contraction during the firing process. |

|
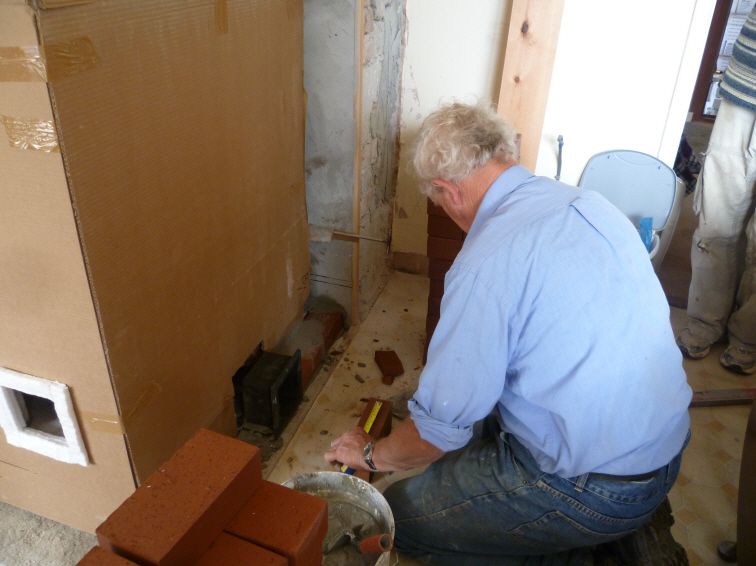
| Here Alan one of the local Cornish builders is ready to start the masonry facade setting into position the cast iron ash drop clean out door frame in the lower plinth. You can also see the position of the side contra-flow cleanout door which again is bedded against ceramic wool for expansion. |
| The Bake oven door and frame are fitted into place with a layer of ceramic wool to allow an expansion joint to the masonry facade. Here the masonry facade has been taken up to the seating level ready to bed in the slate. |
|
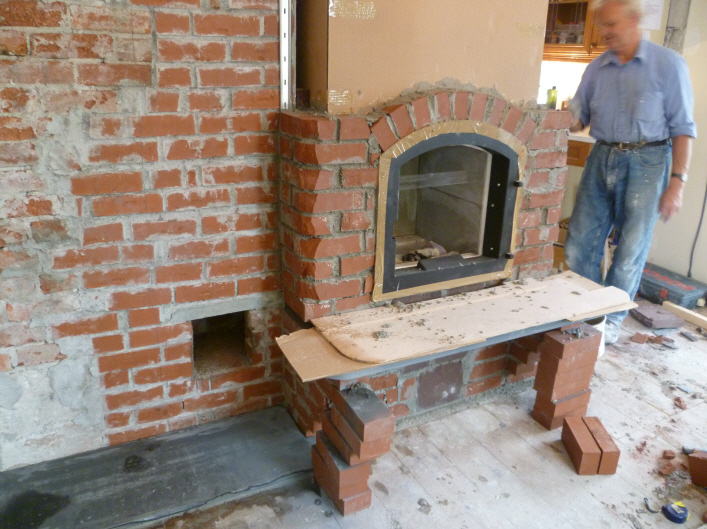
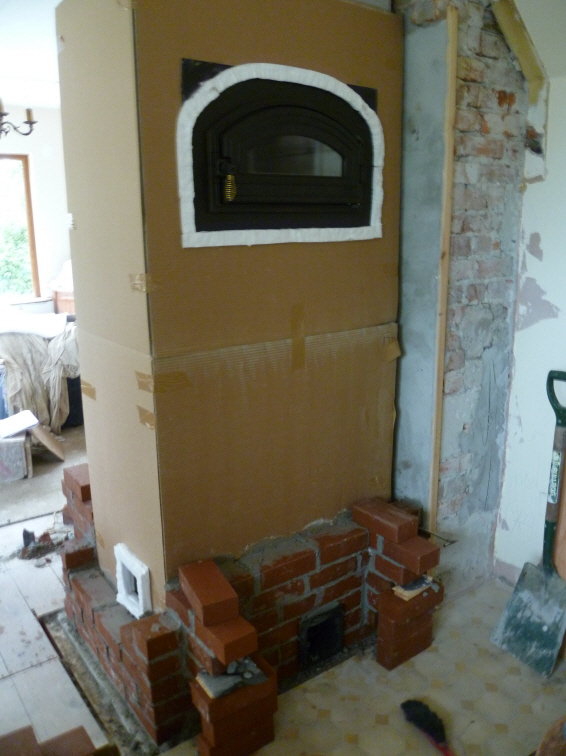
| The living room elevation has been built up around the firebox doorframe with arched head. The corners of the masonry have been chipped away to enable the render finish to be neatly rounded. The slate seated is not installed yet so you can see the flue clean out door opening which will eventually be below the seating. |
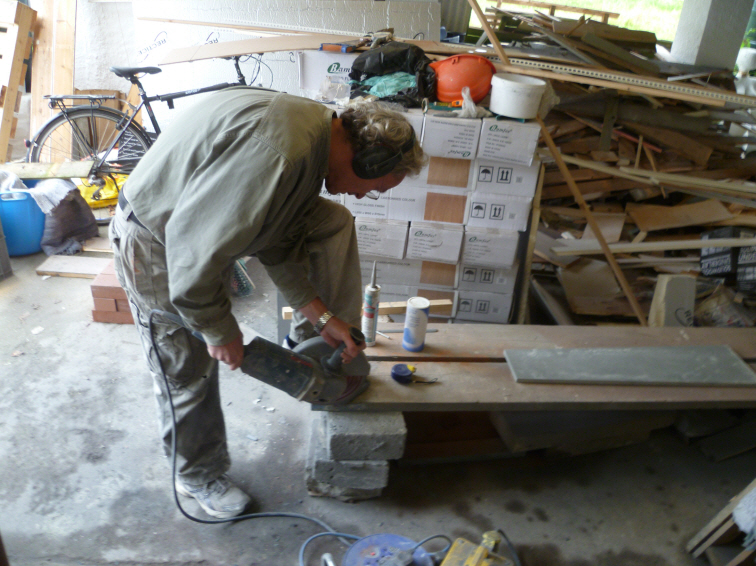
| Here David is trying his hand at cutting some of the local slate to make the seats and trims, A very messy dusty job. |
|
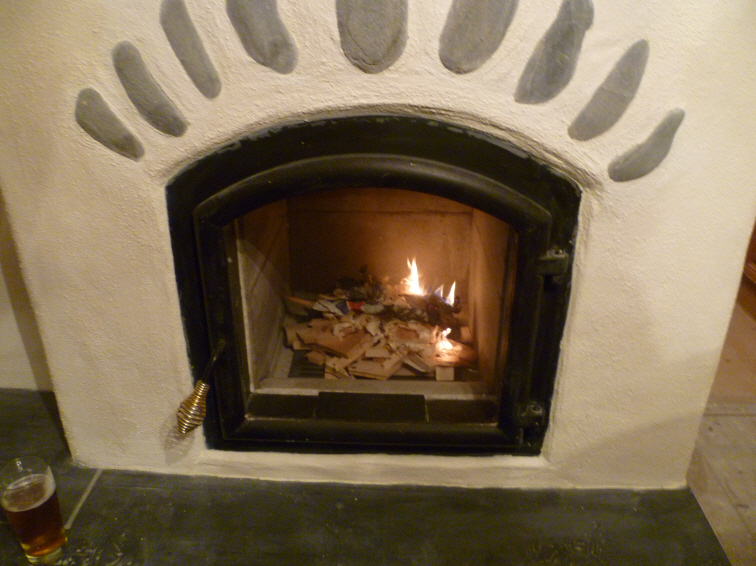
| The installation completed, rendered and decorated by the local builders and ready for the commissioning process. The first fires over a number of days are small gradually getting bigger to slowly heat up the core and allow any moisture from construction to steam off. |
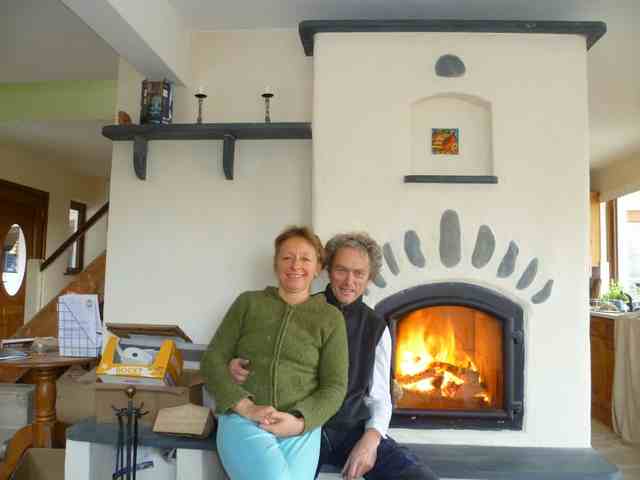
| David and Christine enjoying a fully roaring fire in their new Masonry heater, One burn a day gives the the heat to warm the house and also cook some food and makes a great central focal point to the newly opened up living space. |
|
For more information, contact us.